Getting started
Create an account, define a schema, upload a document, get structured data back. Under five minutes, no developer required.
Updated:
Before you start
There’s nothing to install — Ztract runs entirely in your browser at app.ztract.com. There’s no CLI, no SDK, and no API to wire up for the steps below; we’ll cover the API on its own page once it ships. All you need is a document you’d like to extract data from — a PDF, a Word file, an Excel sheet, a scan, or a phone photo — and an email address.
Step 1 — Create your account
Go to app.ztract.com. Enter your email and we’ll send you a one-time verification code — there’s no password to remember, no separate signup form, and no credit card. (Prefer to use Google? Continue with Google is right below the email field.) Once you’re in, your account is credited with 30 free pages automatically. You can run those through the engine with no obligation; we don’t move you onto any plan or remind you with marketing emails.

Step 2 — Create your first project
A project in Ztract is a grouping of related documents that share a schema. Most teams have one project per document type — “Vendor invoices”, “Expense receipts”, “Customer contracts” — and one project that covers all the ad-hoc one-offs. There’s no limit on the number of projects you can create.
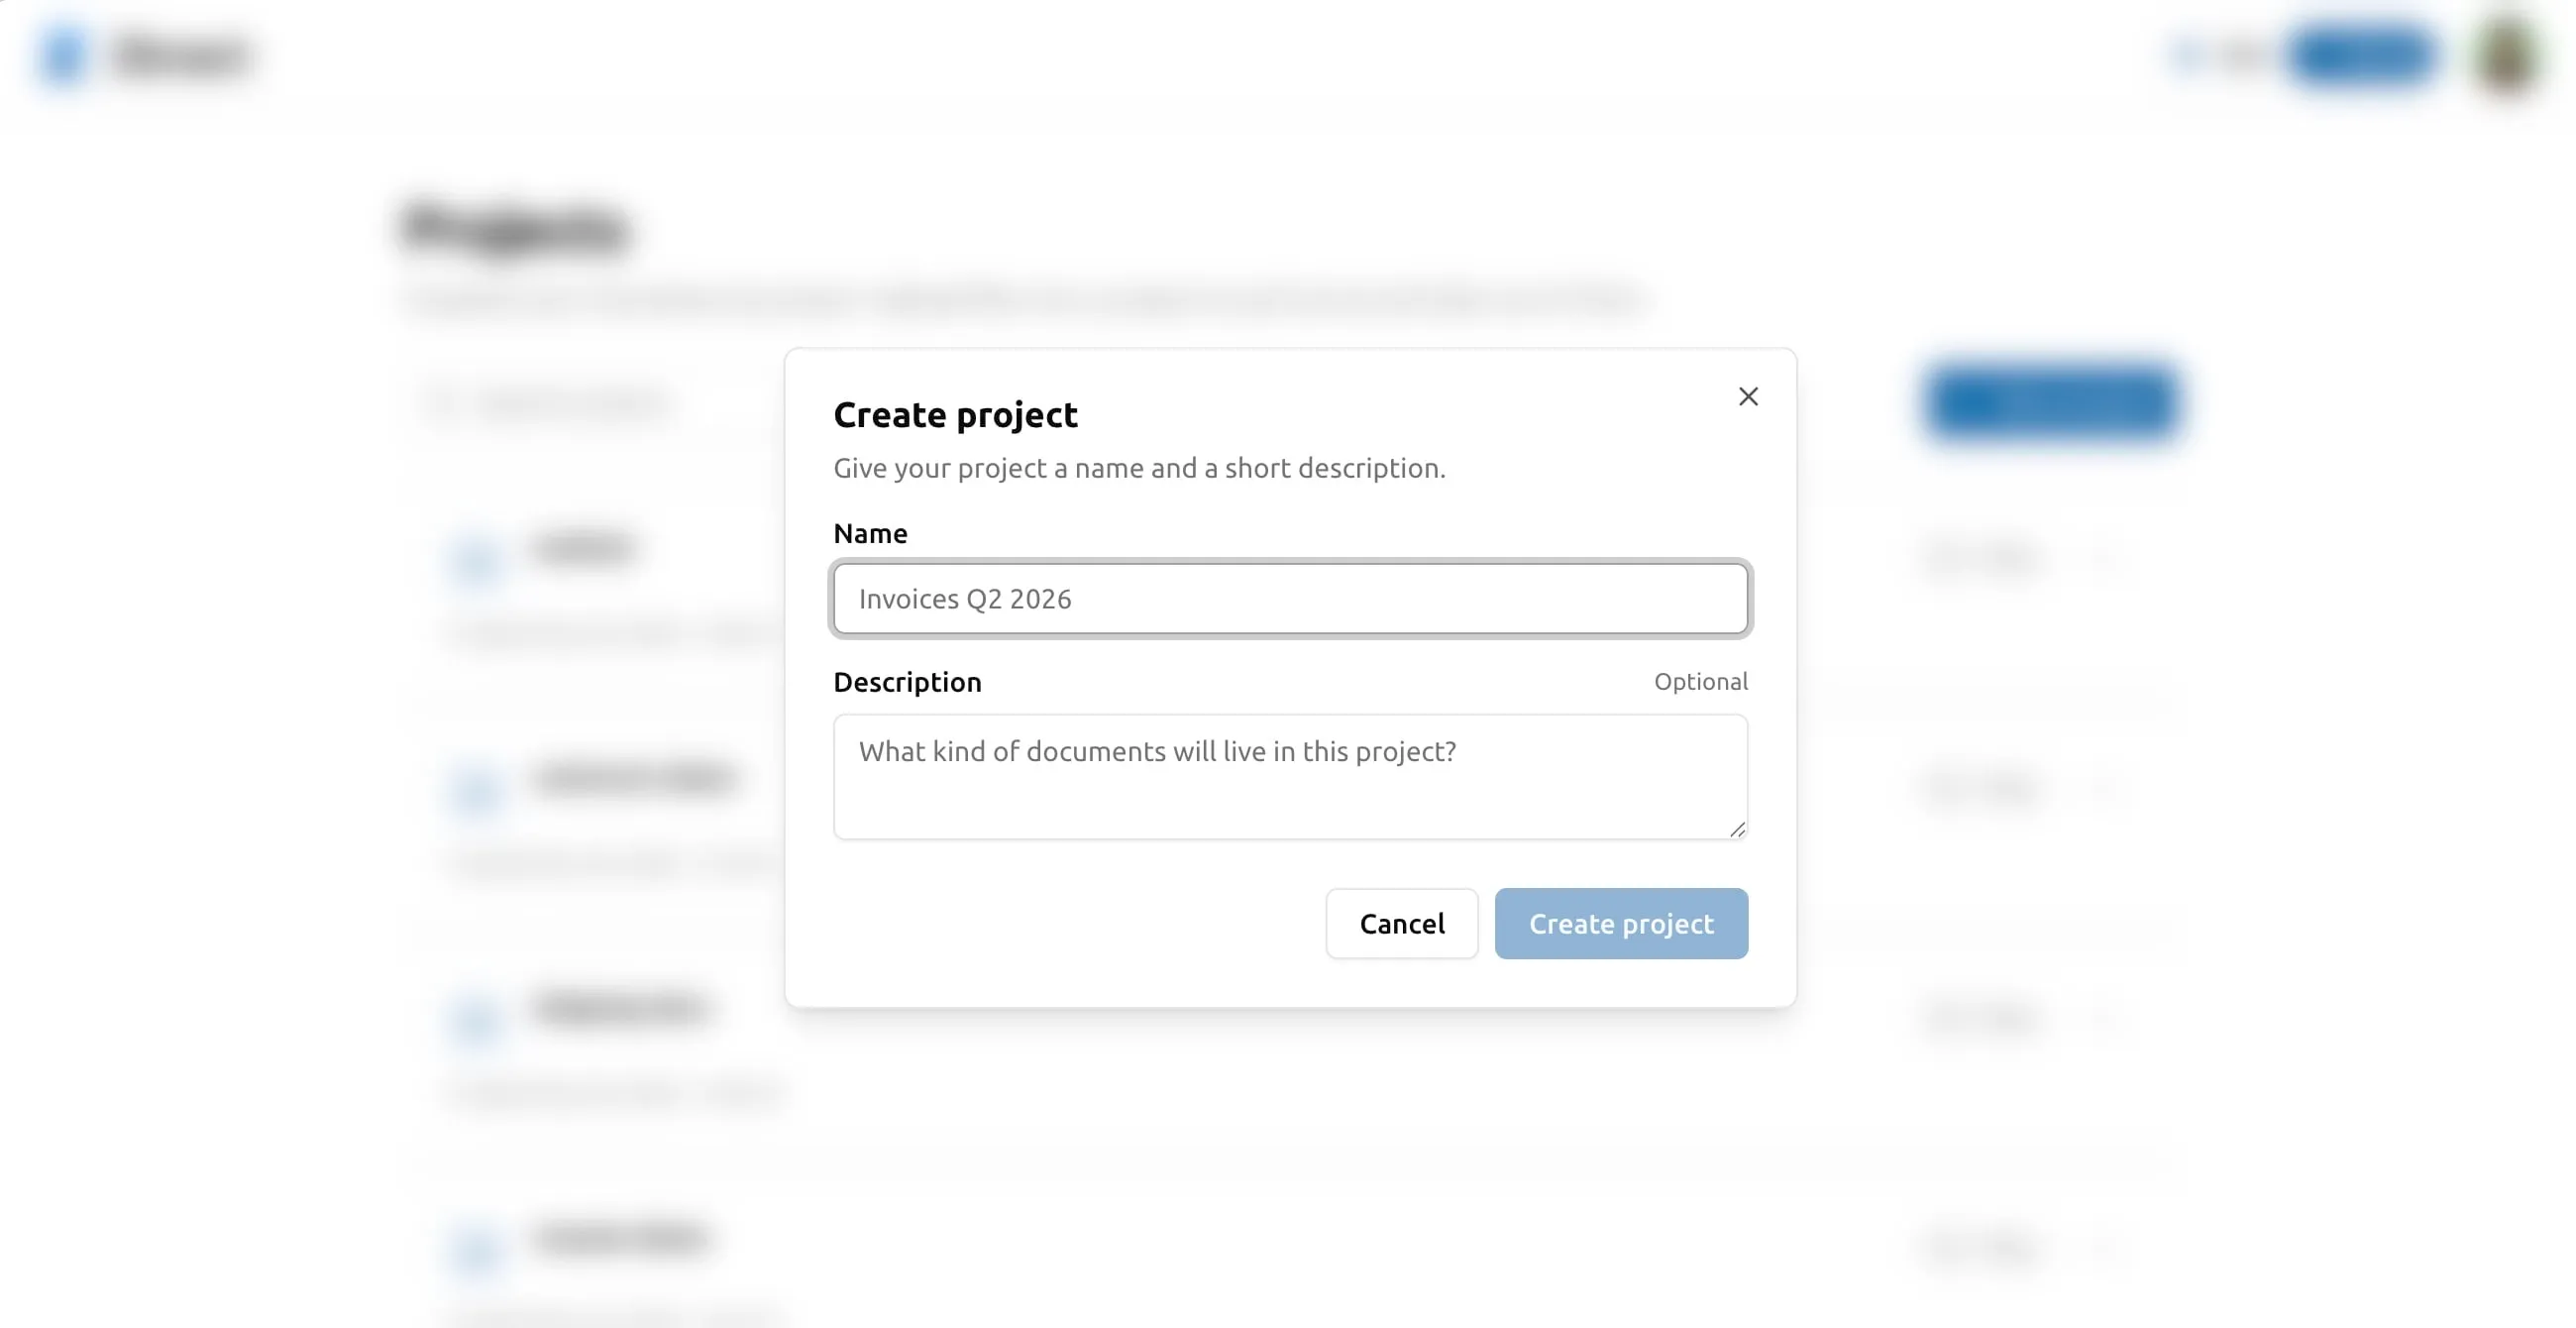
From the dashboard click New project, give it a name, and pick a starting schema (the next step explains what that means).
Step 3 — Define your schema
A schema is the list of fields you want Ztract to pull out of each document. For invoices it might be invoice number, vendor, dates, totals, and a table of line items. For receipts, merchant, date, and items. For passports, name, document number, expiration date.
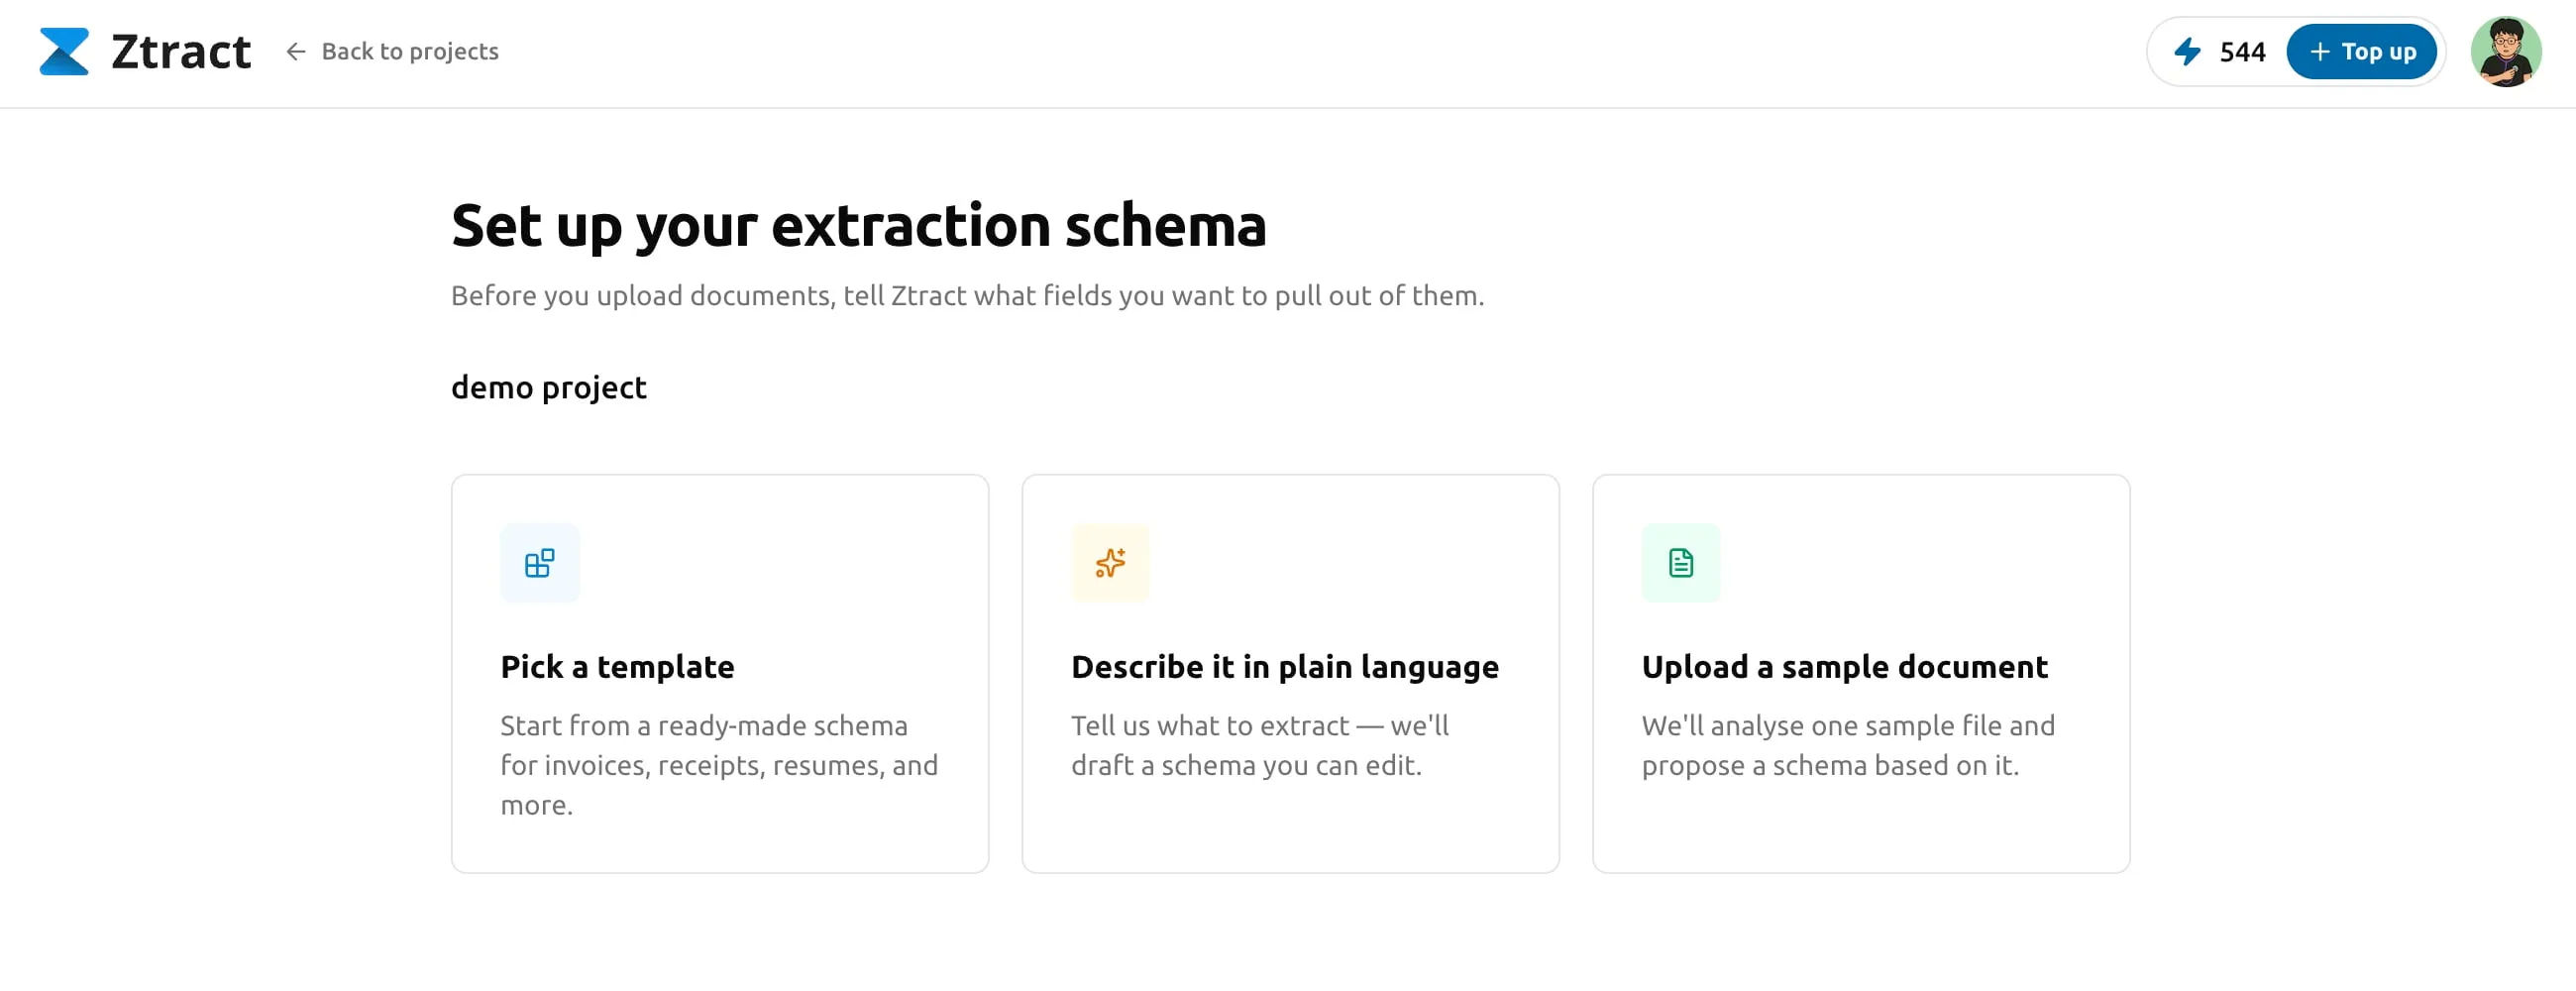
You can define it in three ways:
- Pick a template. We ship templates for common document types like invoices, receipts, contracts, and IDs. Click one, rename or remove fields to match your team’s terminology, save.
- Describe in plain English. Type a sentence like “For each invoice, extract the invoice number, vendor, total, and line items with description, quantity, and unit price.” The engine drafts a schema from your description; you confirm or tweak.
- Drop in a sample document. If you don’t know what fields exist until you’ve seen one, upload a single example. The engine reads it and proposes a schema with the right field names, types, and nesting. You adjust from there.
The Designing your schema article goes into when each method works best.
Step 4 — Upload a document
With a schema saved, head to the project’s Documents tab and drag
in one or more files. Ztract accepts PDFs, Word (.doc / .docx),
Excel (.xls / .xlsx), PowerPoint (.ppt / .pptx), HTML
(including .mhtml), TXT, CSV, RTF, OFD, plus images in JPG, PNG,
WebP, TIFF, and BMP — up to 500 MB per file. See the
Uploading documents article for details on
size limits, batch uploads, and what happens when a file fails.
The dashboard processes each file as it arrives and shows you progress in real time. A single-page document is usually done in a few seconds; a 50-page contract takes longer.
Step 5 — Review and correct
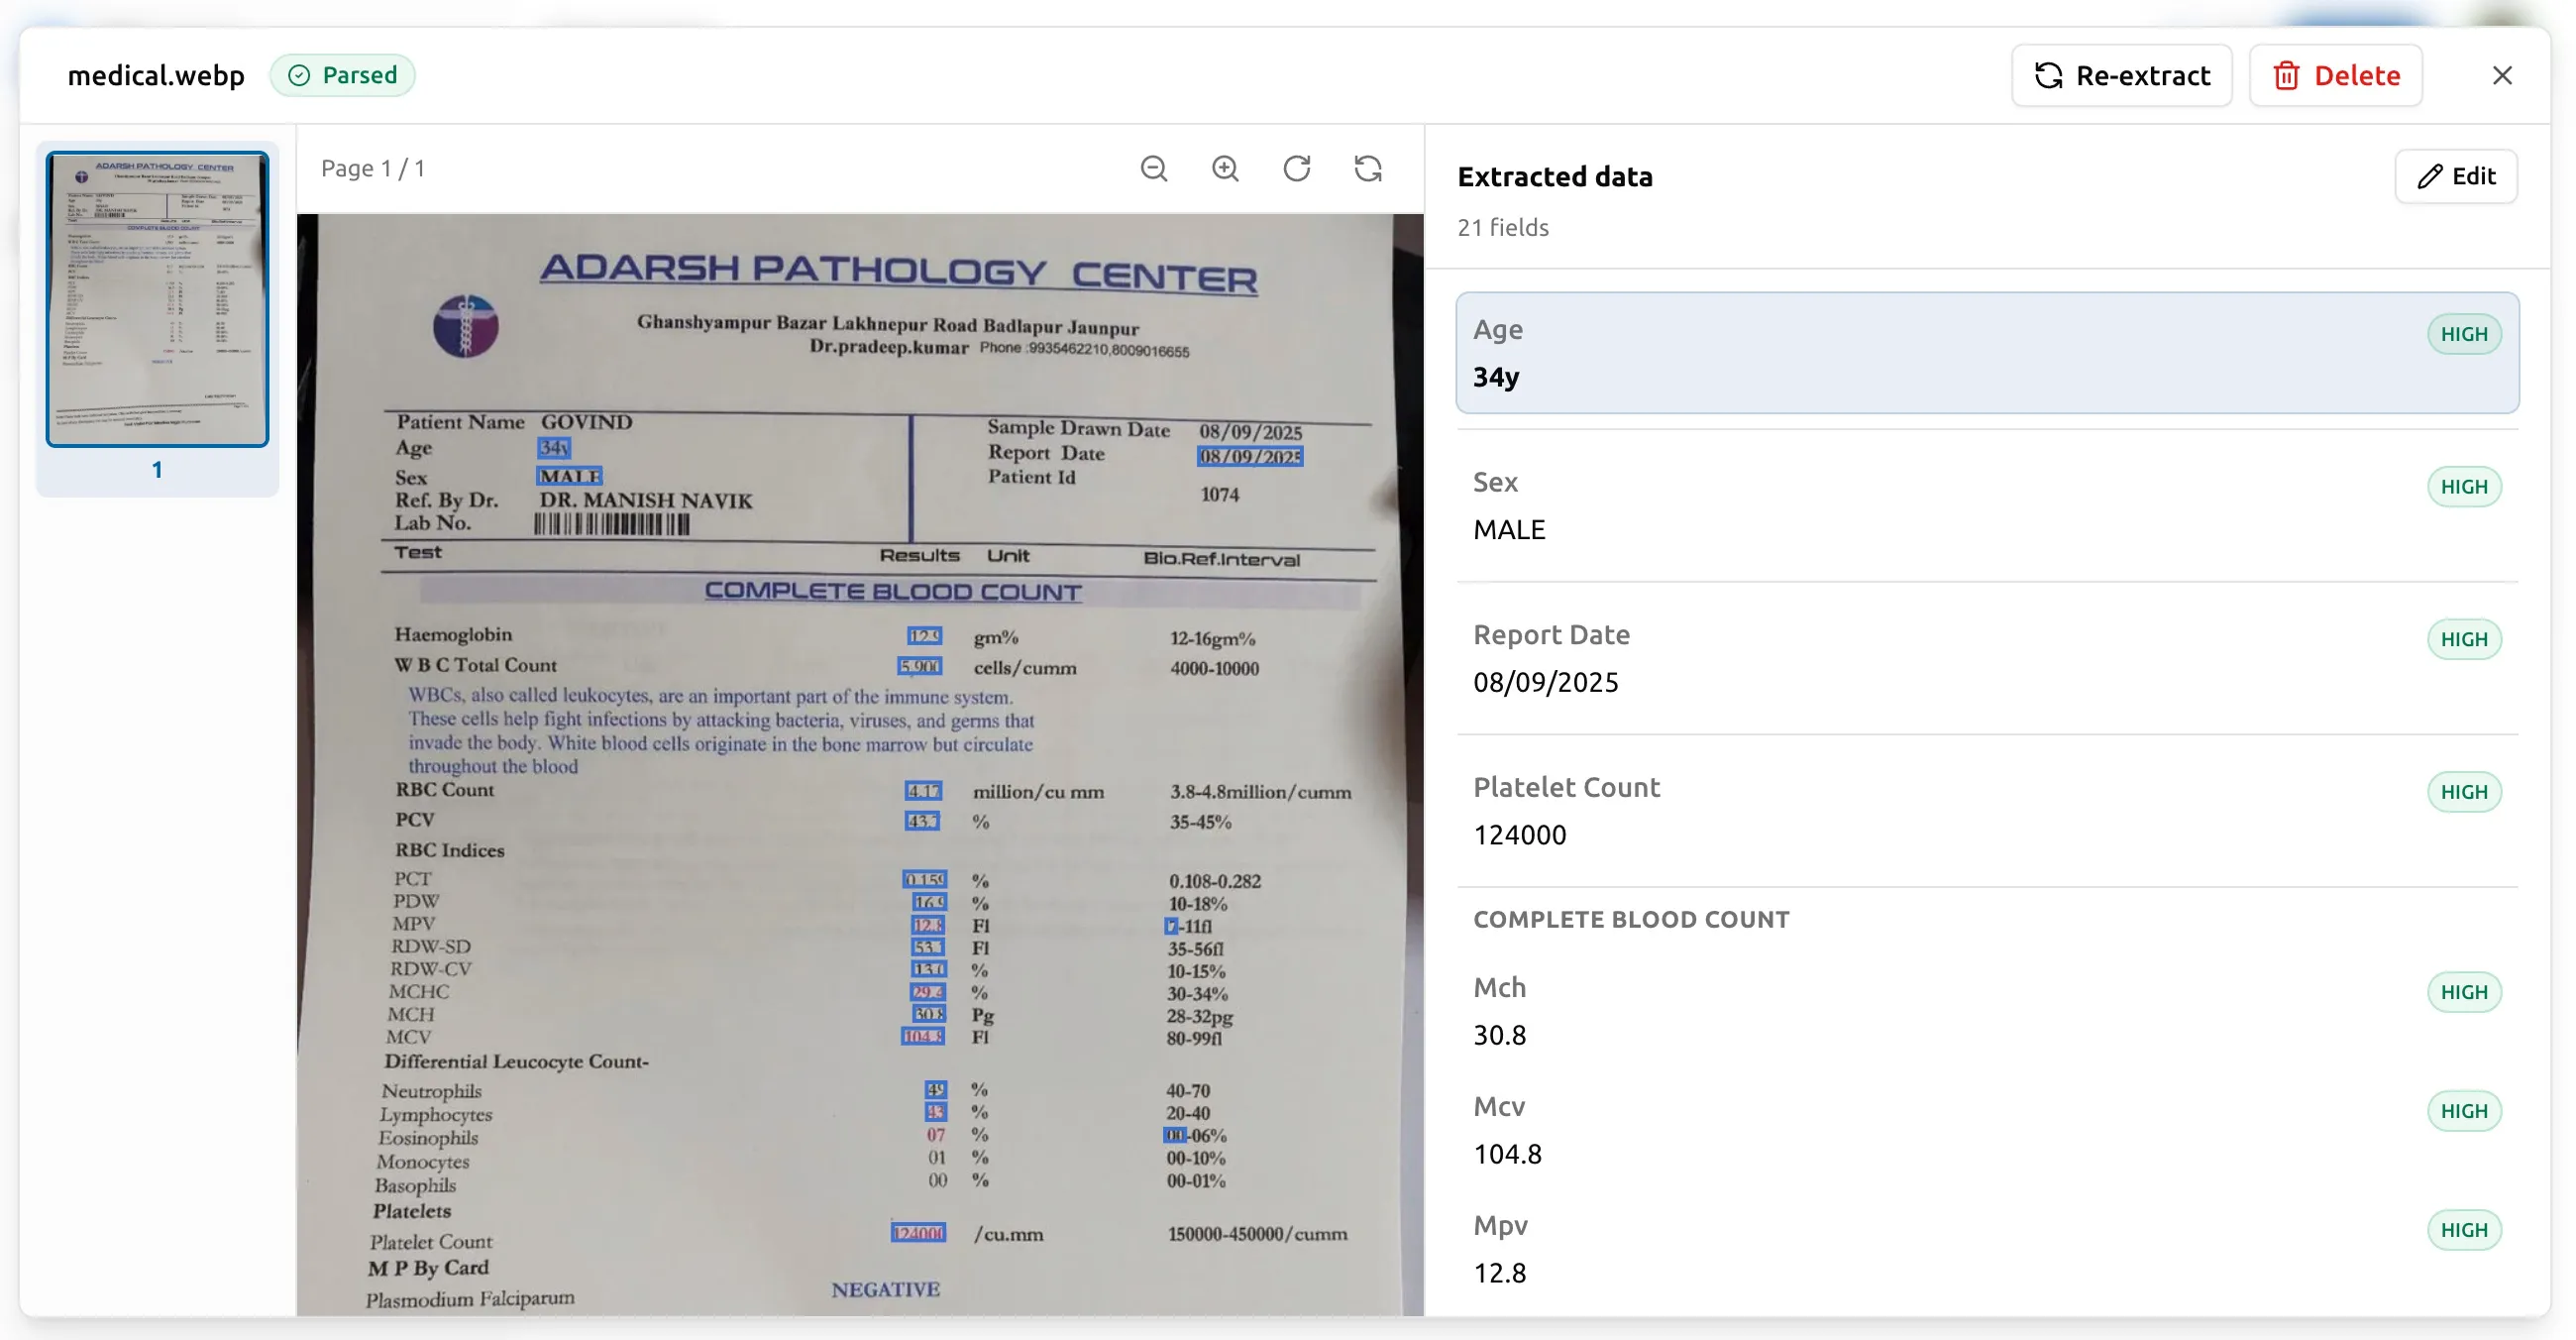
When a document is done, open it in the side-by-side viewer. The original document is on the left, every extracted field on the right. Click any field and the matching region lights up on the source. Click any region on the source and the corresponding field scrolls into view on the right.
Fields the engine is unsure about are flagged with a confidence score. To correct a wrong value, click it, type the right one, and save. The correction is instant — you don’t pay for a re-run, and the next export will use the corrected value. See Reviewing and correcting for the full story.
Step 6 — Export
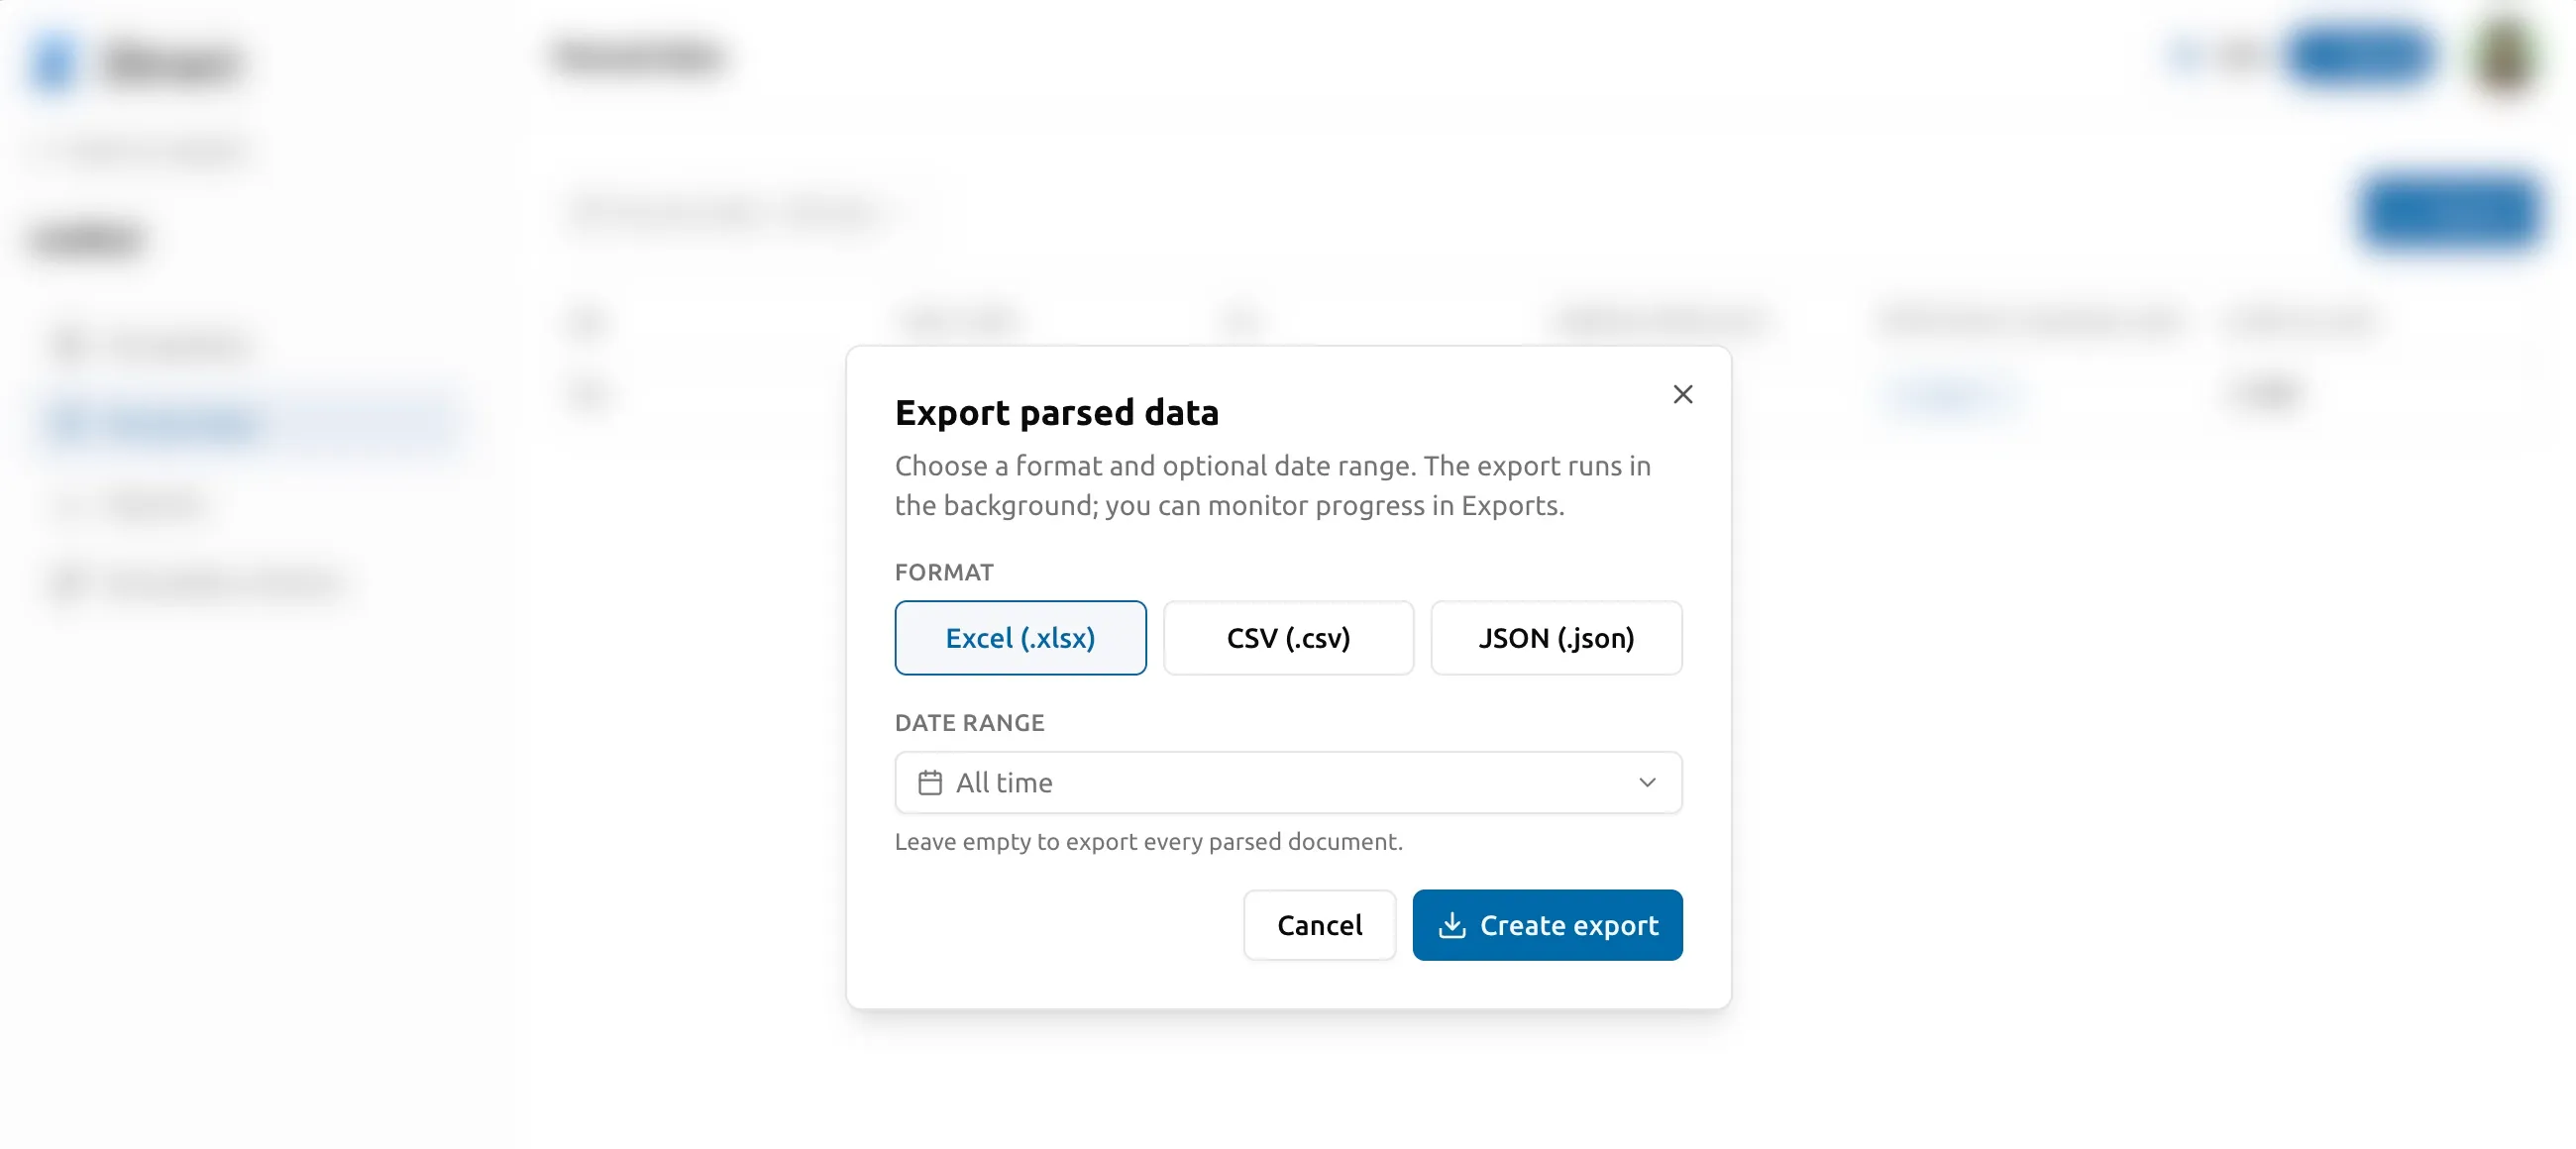
With the data verified, open the project’s Parsed data tab and click Export. Choose Excel, CSV, or JSON, optionally narrow by parsed-date range, and confirm. The export runs in the background; when it’s ready, download it from the Exports tab. JSON preserves the full nested structure (parties, line items, etc.); CSV and Excel flatten line items into separate rows or sheets. Open the file in your tool of choice — Sheets, Excel, your accounting software, your data warehouse — and you’re done.
A few details worth knowing on day one
- The dashboard speaks your language. English is the default, but you can switch to 中文, 日本語, 한국어, Français, Deutsch, Español, or Português from the avatar menu in the top-right. Schema templates are localized accordingly.
- Your remaining pages live in the nav. The amber “Top up” badge in the top-right shows your live page balance and turns warmer when you’re running low. Click it to jump to the pack picker.
- Re-extracting takes pages again. Editing a field in the viewer is free, but re-running the engine on the same document (because you changed the schema, fixed the source, or just want a fresh pass) deducts pages at the normal per-page rate. See Reviewing and correcting.
What comes next
Once your 30 free pages run out, you can buy a pack of pages — they’re one-time purchases, valid for 12 months, no subscription. See Billing, packs, and refunds for how that works. If you have questions, email support@ztract.com — one inbox, one team, replies within a business day.